Helical Piers for Cracked Foundation Walls: A Complete Guide
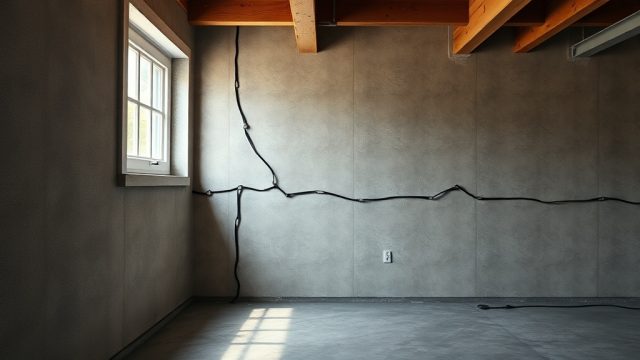
When you notice a crack creeping up your basement wall, the immediate worry is whether your home is structurally sound. Helical piers offer a proven, long-term solution for stabilizing foundation walls and preventing further movement, especially in soils that can’t support heavy concrete footings. This guide breaks down exactly how helical piers work to repair cracked walls, what the installation process looks like, and when you absolutely need to call a professional.
How Do Helical Piers Actually Stabilize a Cracked Foundation Wall?
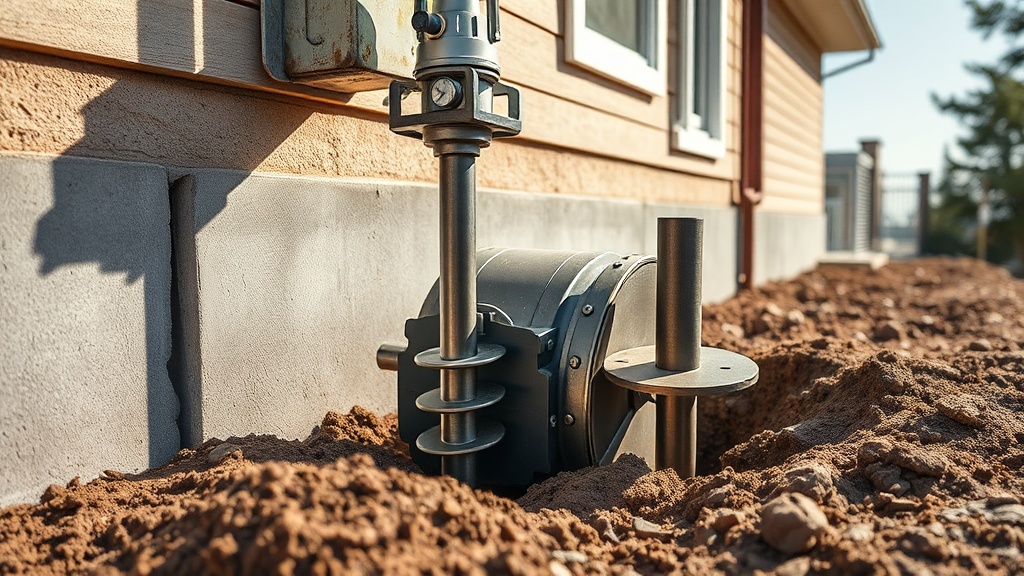
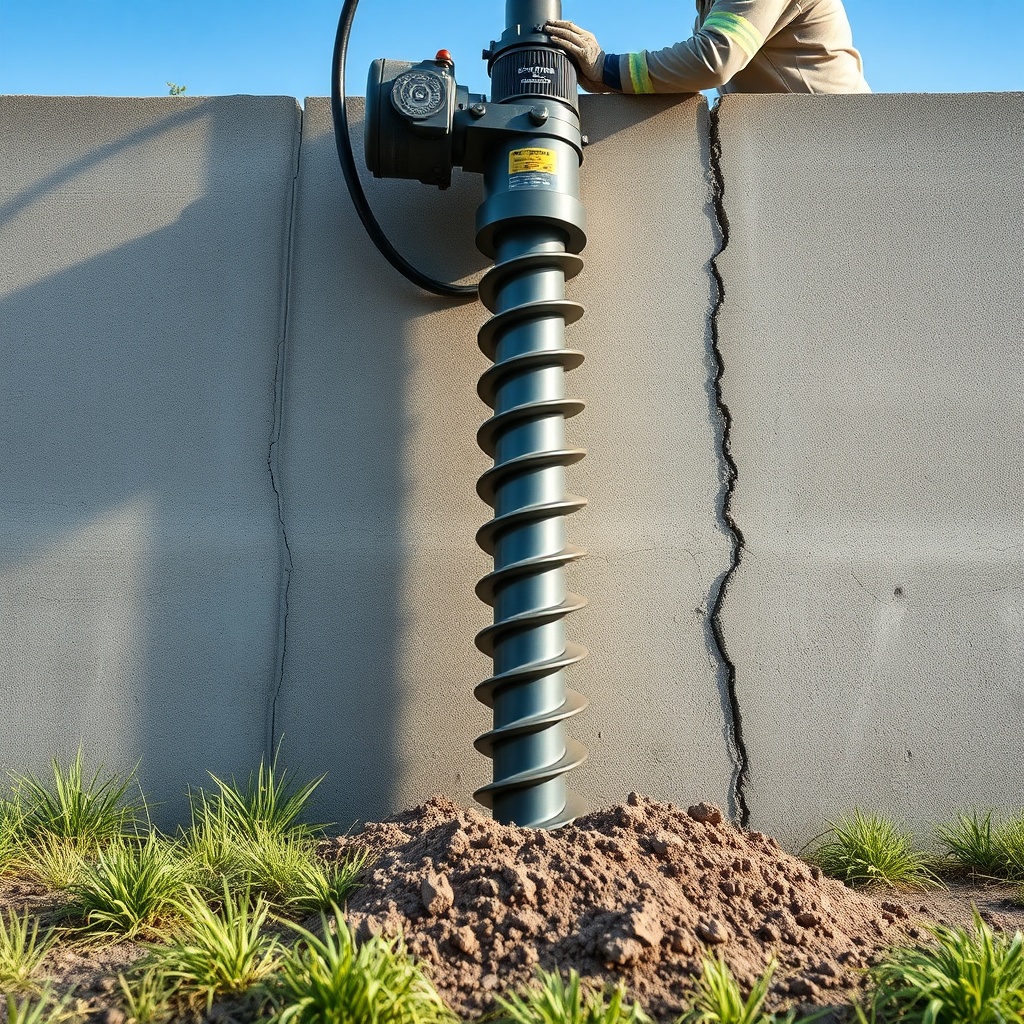
Helical piers are steel shafts with helically-shaped plates welded near the tip, similar to a giant screw. They are driven into the ground beneath your foundation until they reach stable load-bearing soil or bedrock. Once installed, a bracket attaches the pier to your foundation wall. The pier’s deep support transfers the weight of the wall away from the failing soil, relieving stress on the crack and preventing lateral movement or further settlement. The key is that helical piers are designed to work in tension and compression—they pull down on the bracket to lift the wall back into position, or simply hold it in place to stop further sinking.
For residential homes, helical piers typically handle loads of 50 to 200 kilonewtons (about 11,000 to 45,000 pounds) per pier, depending on the shaft diameter and helix configuration. A crack in a foundation wall is often a symptom of differential settlement—where one part of the foundation moves more than another. Helical piers address this at the root cause by creating a stable point of support that bypasses the loose or weak soil layers.
When Should I Use Helical Piers Instead of Push Piers for a Cracked Wall?
The choice between helical piers and push piers (also called resistance piers) often comes down to soil conditions and the type of crack. Push piers rely on the weight of the structure itself to drive them into the ground—they are better for heavy loads and deep bedrock. Helical piers, on the other hand, can be installed in lighter-weight residential applications and are especially effective when:
- You have a crack from lateral (side-to-side) pressure: Helical piers can be installed at an angle to brace the wall against soil pressure.
- You have shallow, reactive clay soils: Helical piers are easier to install in cohesive soils without the risk of pushing the structure off level.
- You need a solution for a wall that hasn’t fully failed yet: Helical piers can be installed without extra excavation that might disturb a fragile wall.
For cost comparison, see our full guide on Helical Piers vs Push Piers: Cost Comparison for Homeowners. In general, helical pier installations for cracked walls range from $2,500 to $7,500 per pier in the US, while a full wall stabilization project (usually 4 to 8 piers) might run $10,000 to $30,000.
What Does the Installation Process Look Like for a Cracked Wall?
Professional installation of helical piers for a cracked foundation wall follows a systematic sequence. Here is the step-by-step process you can expect:
- Assessment and Engineering: A structural engineer evaluates the crack’s width, displacement, and the soil conditions. They determine the required pier depth and capacity.
- Excavation: A small trench is dug along the foundation wall, roughly 2-3 feet deep and wide enough for the pier. Minimal excavation means less mess and disruption.
- Pier Installation: A hydraulic torque motor drives the helical pier sections into the ground. The torque reading tells the installer when the pier reaches competent soil—typically 10 to 40 feet deep for residential projects. The pier is advanced until the torque reaches a pre-calculated value (e.g., 8,000 foot-pounds for a 60kN load).
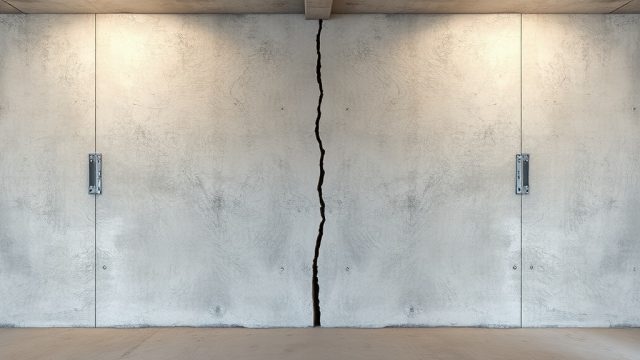
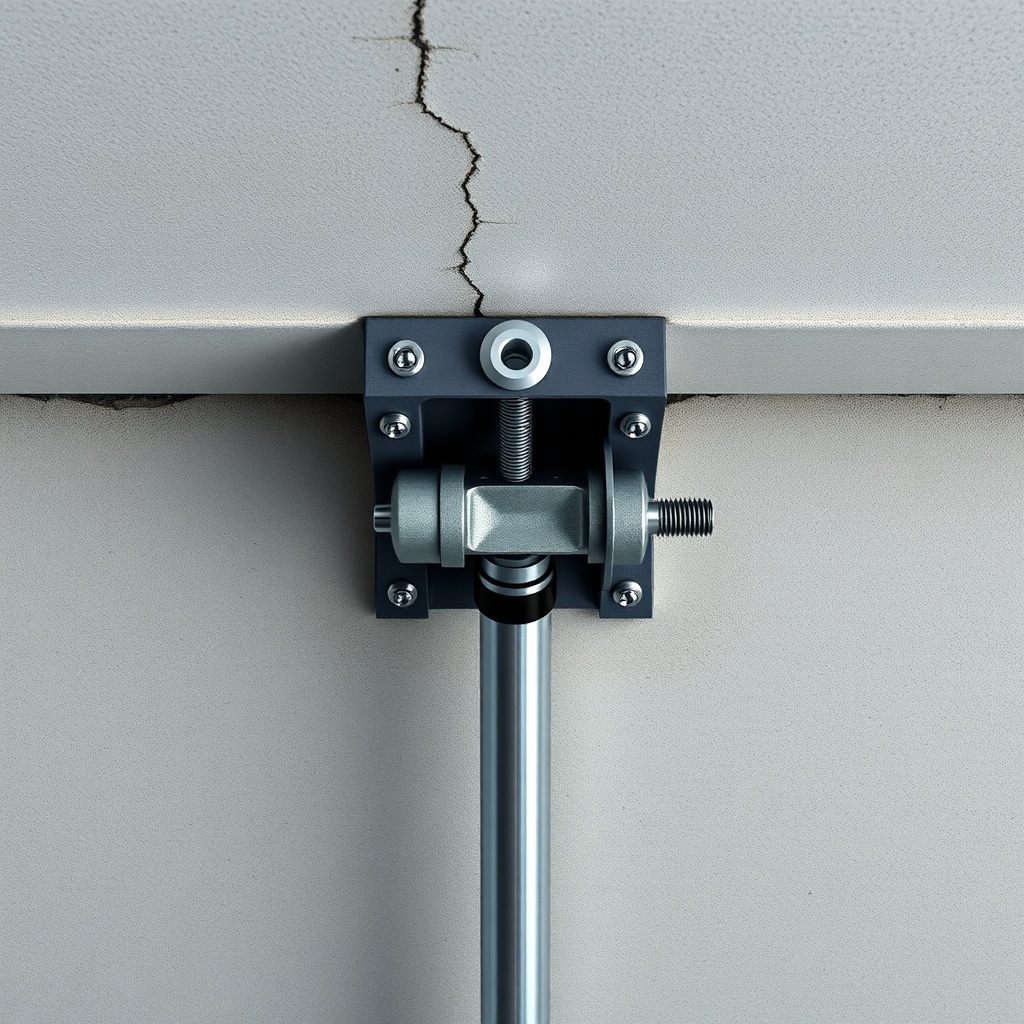
- Bracket Attachment: A heavy-duty steel bracket is slid over the pier top and bolted to the foundation wall or concrete footing. The bracket may incorporate a screw jack to slightly lift the wall.
- Load Transfer: The installer uses a hydraulic jack to transfer a portion of the building’s weight to the pier, ensuring the crack is stabilized. The gap left by the lifted wall is then filled with non-shrink grout or concrete.
- Backfill and Restoration: The trench is backfilled with compacted soil. Grading is restored to direct water away from the foundation.
Installation usually takes 1-3 days for an average home. The area around your foundation should be marked for utilities beforehand. For tips on keeping these piers dry and functional, read our guide on Protecting Helical Piers from Water Damage: Best Practices.
How Deep Do Helical Piers Need to Be for a Cracked Wall?
Depth is critical. For a standard home with moderate cracks, helical piers are typically driven to depths of 15 to 30 feet. In areas with poor soil (e.g., expansive clay or fill), depths may exceed 40 feet. The How Deep Should Helical Piers Be Installed? Expert Recommendations article explains that the rule of thumb is to reach soil with a bearing capacity of at least 3,000 psf (pounds per square foot) or to reach bedrock. The installer monitors torque in real-time—higher torque in the last 10 seconds of driving indicates a solid capable layer. If the torque drops suddenly, the pier may have hit a void, and an alternative placement is needed. Always request a torque log report from your contractor; it proves the piers are bearing on stable ground.
| Crack Severity | Typical Response Time |
|---|---|
| Hairline cracks (less than 1/8 inch wide), dry basement, no movement over 6 months | Usually not urgent—monitor with crack monitors every 3 months. Schedule evaluation during next maintenance cycle. |
| Widening cracks (over 1/4 inch), visible displacement of the wall (bowing), water seepage, or new cracks appearing | Needs attention soon—contact a foundation repair specialist within 1-2 weeks. Active settlement can worsen rapidly. |
How Long Do Helical Piers Last Once Installed Under a Cracked Wall?
Helical piers are made from galvanized steel, typically to ASTM A36 or A588 standards. When properly installed and with good drainage, they can last 50 to 100 years—often outlasting the house itself. The key longevity factors are:
- Corrosion protection: Hot-dip galvanizing (minimum 2.5 oz/ft²) is standard. In aggressive soil (pH below 5.5 or high chloride), additional coatings or stainless steel may be required.
- Water management: If the soil around the piers stays saturated for months, galvanic corrosion accelerates. Surface water should be directed away.
- Load stability: As long as the soil layers remain unchanged (e.g., no new construction nearby excavating the load-bearing layer), the piers will hold.
Manufacturers like Chance and Ram Jack offer warranties of 25 to 50 years on materials. The brackets and connections should be checked every 5 years for signs of rust or loosening bolts.
What Are the Signs That Helical Piers Are Not Working for a Cracked Wall?
Most helical pier installations are trouble-free, but occasionally issues emerge. Watch for these warning signs that the repair may be failing:
- Crack re-opening or widening: If the original crack grows beyond 1/4 inch after repair, the pier may not be transferring load properly.
- Bracket movement: The steel bracket attached to the wall should remain flush. A gap of more than 1/8 inch between bracket and wall indicates the pier is slipping or the wall is moving.
- New cracks above the repair: Stress may be migrating to an adjacent section of foundation.
- Uneven floors: If doors or windows start sticking, the house may be settling elsewhere.
- Water intrusion at the pier location: While rare, improperly sealed penetrations can allow water to seep into the basement.
If you notice any of these, have a foundation engineer inspect the system every 6 months. Quick intervention (like re-torquing the bracket) can prevent a full replacement.
What Owners Say
Homeowners who have used helical piers for cracked walls often report a mix of relief and surprise. Here are two realistic perspectives:
“We had a vertical crack in our poured concrete basement wall that let water in every spring. The installer put in three helical piers near the center of the crack. It’s been three years, and the crack hasn’t moved at all. We paid $12,000 total, which felt steep, but the peace of mind is worth it.”
“I wish we had done more research first. Our contractor said we needed 8 piers, but after installation, the wall still had a 3/8-inch gap. Turns out they didn’t drive them deep enough—the torque log showed they stopped at only 8 feet. We had a second company add two more piers at 22 feet deep, and now it’s solid. Always ask for the torque log before they backfill.”
These stories highlight the importance of depth verification and choosing experienced installers. For a typical project, you can expect the wall to stop moving within a week of installation.
Frequently Asked Questions
Can helical piers be used to lift a cracked wall back to its original position?
Yes, but only partially. Helical piers can be jacked to restore some of the original wall height—typically 1 to 2 inches of lift is achievable. Complete restoration to the original position is rare because cracked walls have already undergone plastic deformation. The primary goal is to stop further movement, not to reverse cosmetic damage. For cosmetic repairs, the crack can be epoxy-injected after stabilization.
How many helical piers do I need for a 40-foot cracked wall?
For a straight residential wall 40 feet long with a single significant crack, most engineers specify 4 to 6 piers. The spacing is roughly 6-10 feet apart, with one pier placed at the crack location and others flanking it to balance load. The exact number depends on soil bearing capacity and the building’s weight. A load analysis is required.
Will helical piers damage my landscaping or driveway?
Installation requires a 2-3 foot wide trench along the wall. This can disturb grass, flowerbeds, and walkways. The contractor will typically restore the surface with topsoil and seed, but hardscape like concrete driveways may need to be cut and patched. Discuss access routes before signing a contract.
Can I install helical piers for a cracked wall myself?
No. Helical pier installation involves specialized equipment (hydraulic torque motors, load test jacks), structural engineering knowledge, and often permits. Incorrect depth or bracket placement can make the wall worse or cause the pier to fail under load. Always hire a licensed foundation contractor with helical pier experience. DIY solutions for foundation cracks are not safe.
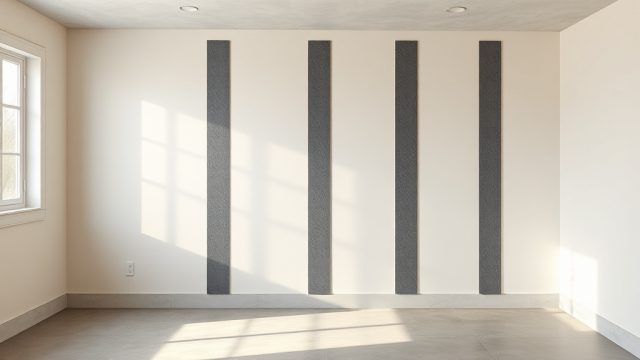
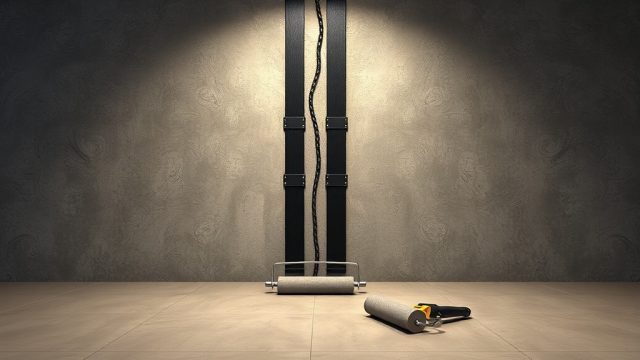
How do helical piers compare to carbon fiber straps for wall cracks?
Carbon fiber straps are a surface repair for hairline cracks caused by lateral soil pressure—they do not address settlement. Helical piers tackle the vertical foundation movement causing the crack to open. For purely cosmetic cracks less than 1/8 inch wide, carbon fiber may suffice. For structural settlement, helical piers are required. A structural engineer can make the call.
Does homeowner insurance cover helical pier installation for cracked walls?
Most standard homeowner policies exclude foundation settlement and earth movement (including what is covered under “earthquake” exclusions). However, if the crack is caused by a sudden event like a tree root impact or accidental excavation, you may have coverage. Check your policy; the majority of helical pier installations are out-of-pocket expenses. Some contractors offer financing plans.