What Are Carbon Fiber Straps and How Do They Fix Foundation Cracks?
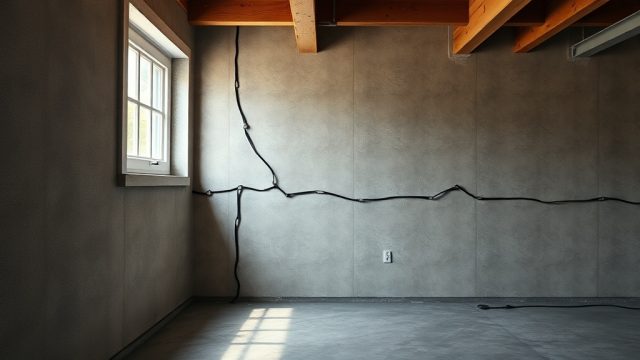
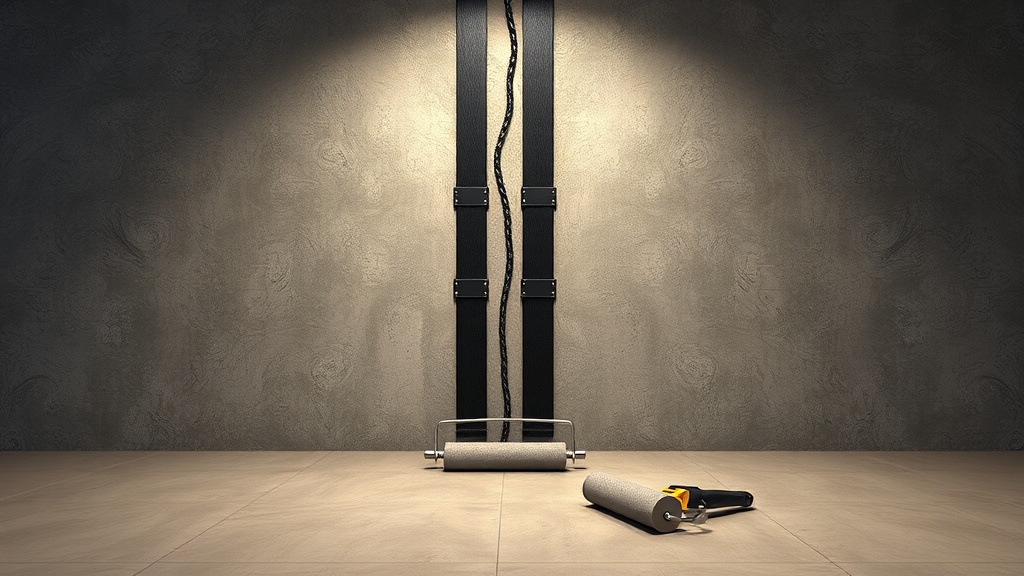
Carbon fiber straps are high-strength composite strips used to stabilize cracks in basement and crawlspace walls. Unlike traditional steel beams that push back against soil pressure, carbon fiber straps bond directly to the wall surface to hold existing cracks from widening. This guide walks through the step-by-step process of installing them for crack repair, from surface prep to final curing.
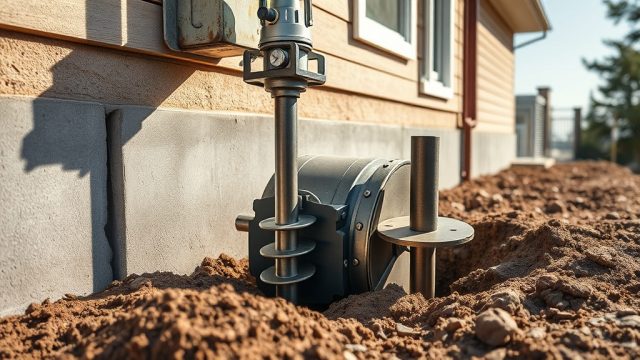
When Should I Choose Carbon Fiber Straps Over Steel I-Beams for Crack Repair?
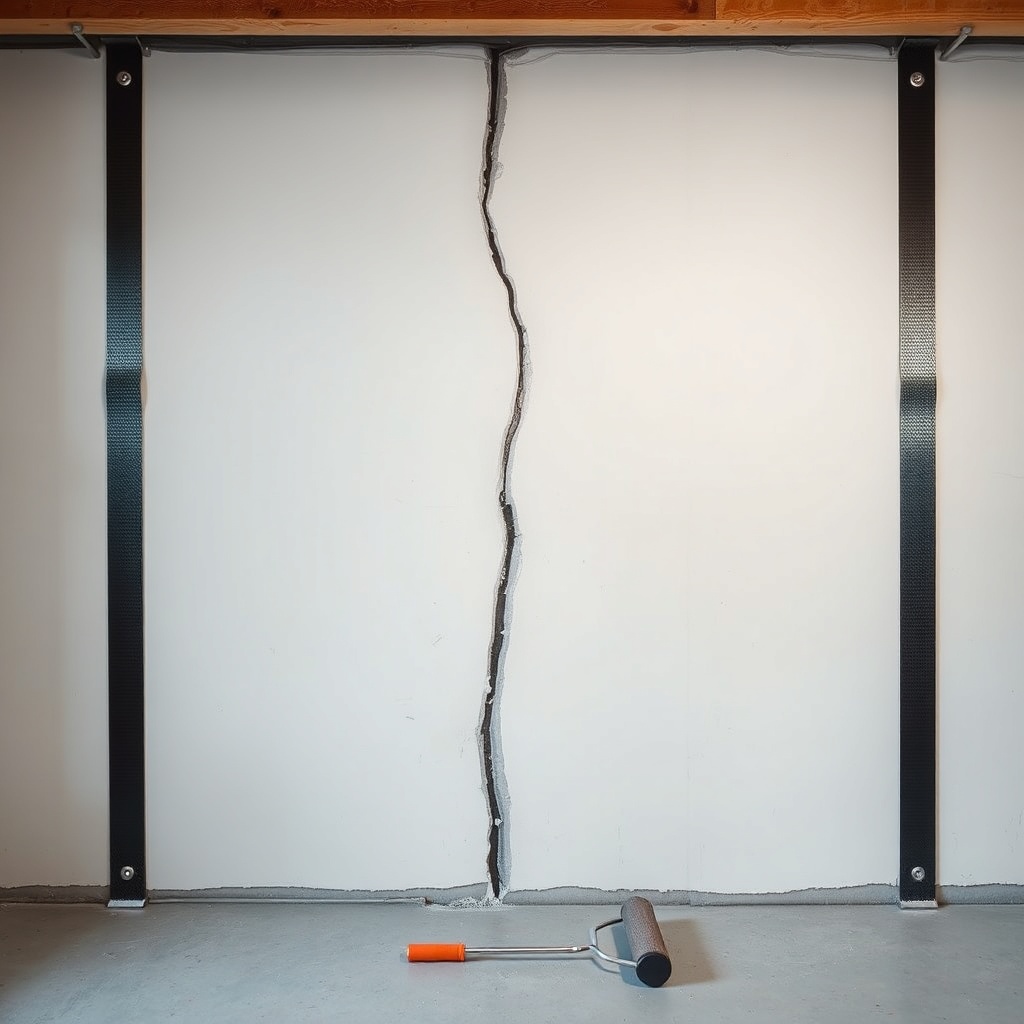
Carbon fiber straps work best for non-structural cracks less than ¼ inch wide where the wall hasn’t bowed more than 1 inch out of plumb. They’re ideal for homeowners who want a less invasive fix than steel beams require. Steel beams need footing connections and can extend floor space, while straps sit flush against the wall. For deeper cracks with significant wall displacement, our guide on Carbon Fiber Straps vs Steel I-Beams: Which is Better for Basement Walls? compares both options for different scenarios.
What Tools and Materials Do I Need for Carbon Fiber Strap Installation?
- Carbon fiber strap rolls (3-inch or 4-inch width, 12-foot lengths typically)
- Two-part epoxy adhesive (cartridge or pint containers)
- Epoxy injection gun or manual mixing paddle
- Notched trowel (¼-inch V-notch)
- Roller with firm rubber roller (4-inch wide)
- Putty knife, wire brush, and vacuum for cleaning
- Mixing cups, stirring sticks, and disposable gloves
- Level or straightedge for alignment
- Chalk line for marking strap locations
Cost for DIY kits ranges from $250–$450 for enough material to span a typical 8-foot basement wall crack. Professional installation runs $600–$1,200 per strap depending on access and prep needs.
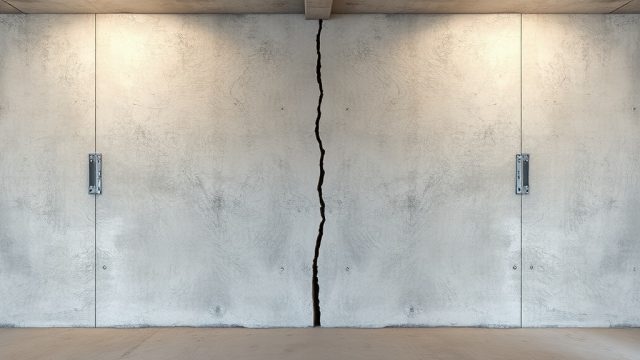
How Do I Prepare the Crack and Wall Surface Before Installing Carbon Fiber Straps?
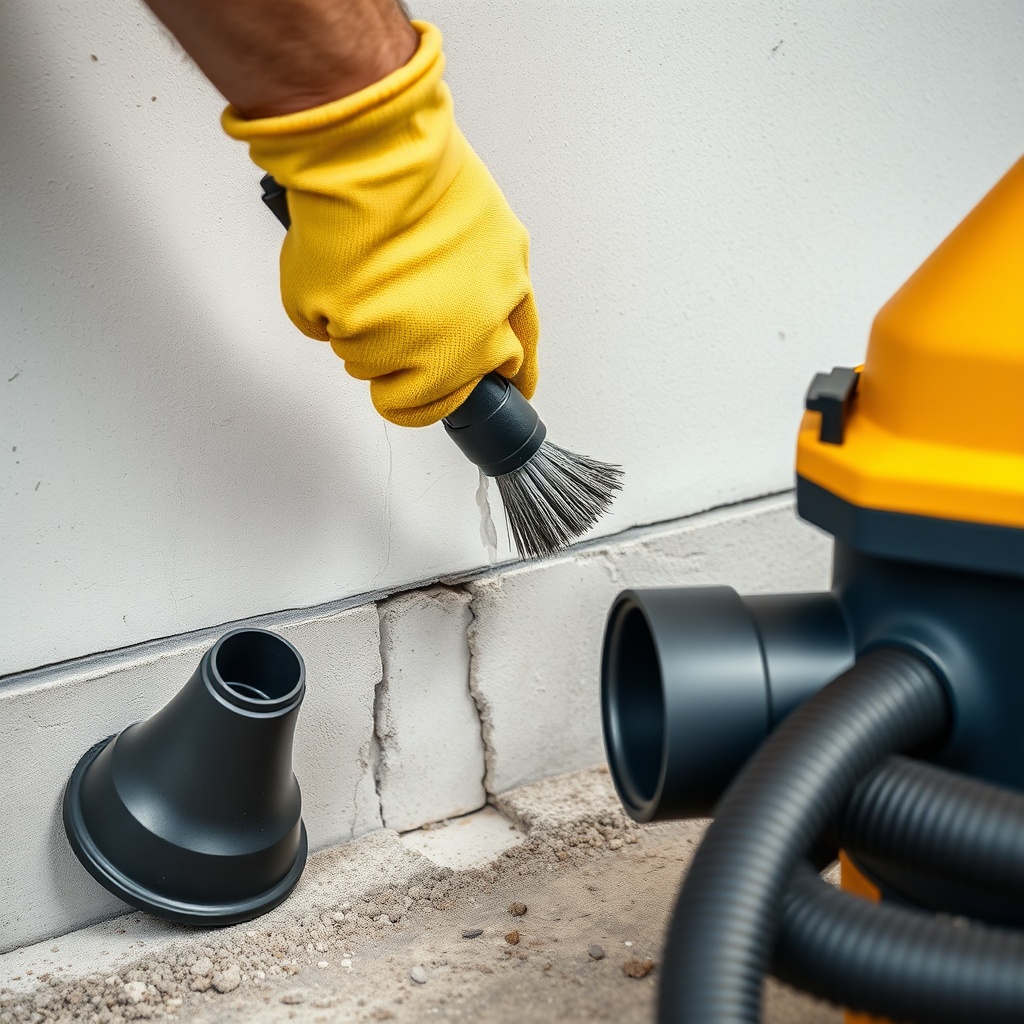
Proper surface prep is essential. Start by cleaning the crack with a stiff wire brush to remove loose concrete, dust, or efflorescence. Vacuum the area thoroughly, then widen the crack slightly—about ⅛ inch deep—using a chisel or crack chaser bit on a grinder. This creates a mechanical key for the epoxy. Next, wash the concrete with a diluted muriatic acid solution (follow product directions) to etch the surface, then rinse with water and let dry completely. Any moisture trapped beneath the epoxy will reduce bond strength.
For active water leaks, address the source first. Read Carbon Fiber Straps and Moisture: Do They Resist Water Damage? to understand how moisture affects the adhesive’s cure over time.
What Is the Step-by-Step Process for Applying Epoxy and Installing Carbon Fiber Straps?
- Mix the two-part epoxy according to manufacturer ratios (typically 1:1 or 2:1 by volume). Stir for 2–3 minutes until uniformly dark gray.
- Apply a thin, even coating of epoxy to the cleaned crack area using a putty knife, filling the crack and extending 2 inches on either side.
- Cut the carbon fiber strap to length (add 6 inches extra at top and bottom for overlap).
- Spread a second thin layer of epoxy onto the back of the strap using a notched trowel.
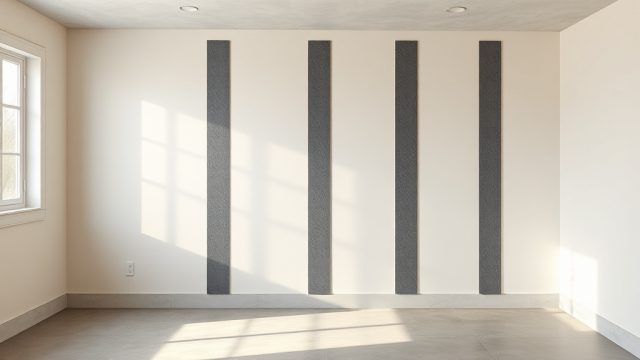
- Press the strap firmly into position over the crack, starting from the center and working outward to remove air pockets.
- Use the rubber roller to apply firm, even pressure along the entire strap length—fifteen to twenty passes ensure full contact.
- Wipe away any epoxy squeeze-out around strap edges with a damp rag before it hardens.
- Allow the epoxy to cure for 24–48 hours at temperatures above 50°F (10°C). No weight should be placed on the strap during curing.
If you notice the crack widening after installation or the strap peeling at edges, refer to When to Worry: Carbon Fiber Straps and Crack Widening Signs for early warning indicators.
How Many Carbon Fiber Straps Do I Need for Different Crack Severity Levels?
| Crack Type | Typical Action and Strap Quantity |
|---|---|
| Hairline cracks (less than 1/16 inch), no displacement | Usually not urgent — monitor for widening; 1 strap per 6 feet of crack length |
| Moderate cracks (1/16 to 1/8 inch), slight misalignment | Needs attention soon — install 1 strap per 4 feet of crack; consider injection first |
| Wider cracks (1/8 to 1/4 inch), some wall movement | Install 2 straps per 4-foot section, spaced 6–12 inches apart |
| Active leaks or bowing over 1 inch | Consult structural engineer — carbon fiber alone may not suffice; combine with drainage |
How Do I Cured and Finish the Straps After Installation?
After the initial 24-hour cure, check for any voids or air bubbles by tapping the strap with a screwdriver handle—a solid sound indicates full adhesion, while a hollow sound means a spot wasn’t bonded. Inject additional epoxy into voids using a syringe if needed. Once fully cured, you can paint over the straps with a latex-based masonry paint to match the surrounding wall. Avoid oil-based paints that might not adhere to the epoxy surface. Trim any frayed edges with scissors for a clean look. Some homeowners also install a decorative panel system over the straps for aesthetic reasons, though this isn’t required structurally.
What Do Owners Say About Installing Carbon Fiber Straps for Crack Repair?
Homeowners who choose carbon fiber straps often share a few common observations after the job is done. Many appreciate that the process doesn’t require excavating the exterior or cutting into the floor, which keeps costs lower than steel beam retrofits. Others note that while the epoxy cures, the strap looks slightly glossy and stands out more than expected, but painting solves that concern. A third group mentions that if the wall was leaking before installation, sticking strictly to the epoxy manufacturer’s moisture limits (typically below 10% surface moisture) made the difference between a permanent fix and one that needed redo within two years.
One common DIY complaint: rushing the roller passes leads to air pockets that trap moisture. Professionals usually roll for a full three minutes per strap to ensure bond integrity.
Frequently Asked Questions
Can I install carbon fiber straps over painted walls?
Yes, but the paint must be removed first. Use a angle grinder with a wire cup brush or chemical stripper to get down to bare concrete, then clean thoroughly. Paint creates a weak bond layer that can fail under stress.
How long does it take for the epoxy to fully cure?
Most epoxies reach handling strength in 24 hours and full structural cure in 72 hours at 70°F. Cold temperatures below 50°F double or triple cure times. Humidity above 90% also extends cure and reduces final strength.
What is the maximum crack width carbon fiber straps can handle?
Manufacturers typically specify cracks up to ¼ inch wide for single-strap installations. For wider cracks, multiple straps or a combination with crack injection are needed. Always check the specific product data sheet for load ratings.
Will carbon fiber straps stop foundation cracks from leaking water?
They can help reduce minor seepage if applied over an injected crack, but they aren’t primarily waterproofing. For active leaks, seal the crack with hydraulic cement before strapping. For persistent water issues, consider exterior drainage or interior drain tile systems.
How much weight can a single carbon fiber strap hold?
A 3-inch-wide strap with proper installation offers roughly 8,000–12,000 pounds of tensile capacity per strap, depending on resin content and thickness. This is enough to resist typical in-span soil pressure on a residential basement wall.
Do I need a permit to install carbon fiber straps?
Many municipalities require a building permit for structural modifications, including crack repairs using carbon fiber. Check with your local building department. Some jurisdictions also require a licensed engineer to sign off on the installation plan.