Why Does Water Drainage Matter for Push Piers?
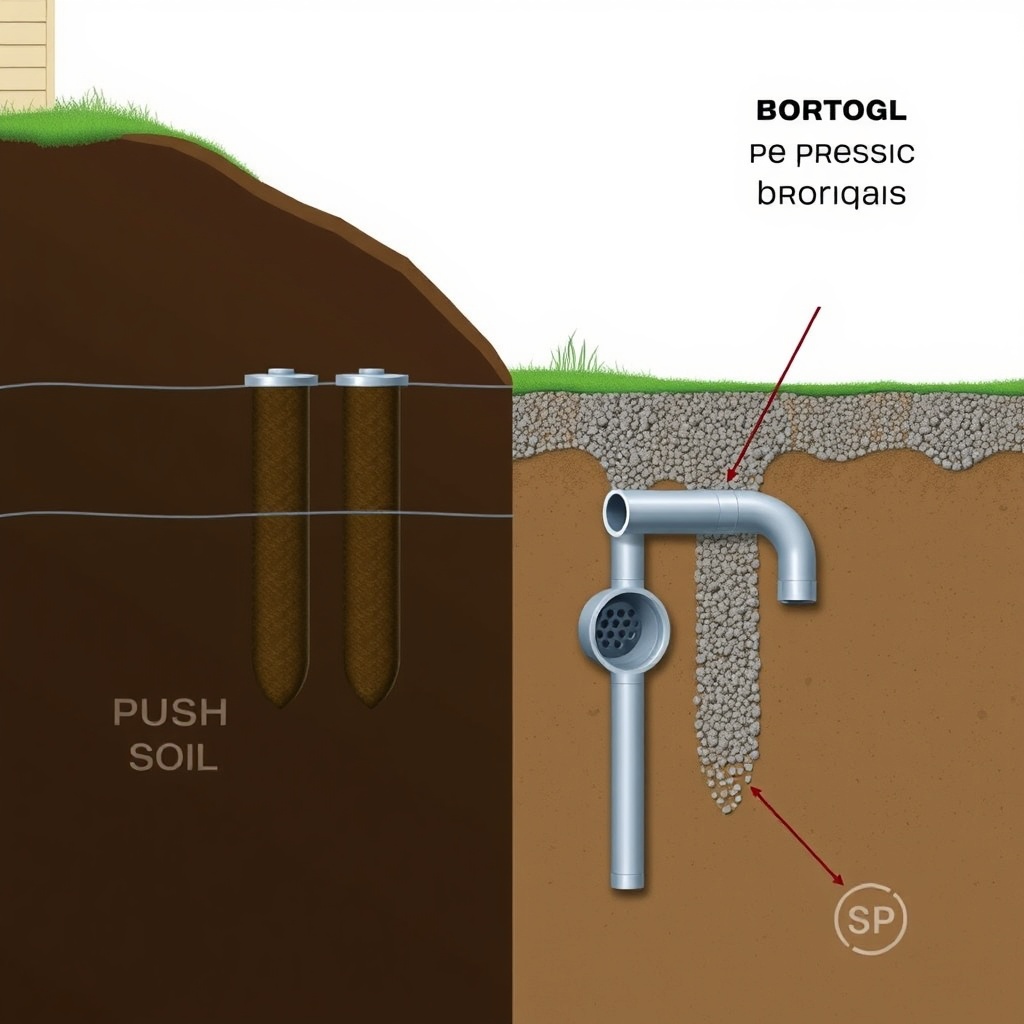
Push piers are a robust foundation repair solution, but even the strongest system can be undermined by poor drainage. When soil around your home becomes saturated, it creates hydrostatic pressure—the force exerted by standing water against your foundation walls. This pressure can push against your piers, reduce their load-bearing capacity, and even shift them out of alignment. Preventing hydrostatic pressure is essential to extending the life of your push pier system and avoiding costly repairs down the road.
In this article, we’ll walk through how push piers interact with groundwater, the dangers of hydrostatic pressure, and actionable drainage strategies to keep your foundation stable. You’ll learn what signs to watch for, when to call a professional, and how simple maintenance can save you thousands.
What Exactly Is Hydrostatic Pressure and How Does It Affect Push Piers?
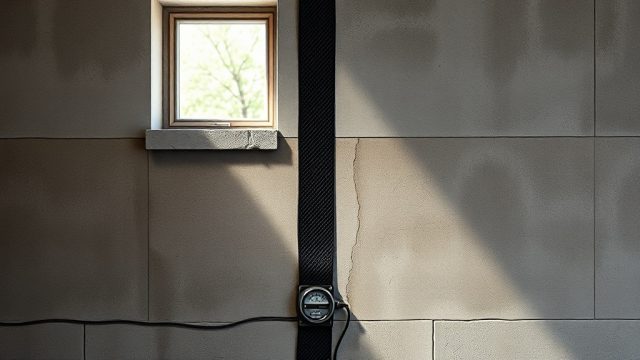
Hydrostatic pressure is the pressure exerted by a fluid at equilibrium due to the force of gravity. In a basement or crawlspace, this means water in the soil pushes against your foundation walls and footings. For push piers—which are driven deep into load-bearing soil or bedrock—the main threat is lateral pressure on the wall that the piers are trying to stabilize.
When soil becomes oversaturated, it expands and can push against the foundation wall with surprising force. If your push piers were installed to address settling issues, the added lateral pressure can overload the system, causing the piers to lean or the wall to bow inward. Even if your piers are designed to handle axial loads (vertical weight), they are less effective against horizontal forces.
A common scenario: after heavy rain, the soil on the high side of a house swells, pushing the foundation wall several inches. Push piers might have stopped vertical sinking, but without proper drainage, the wall can still crack or tilt. This is why pairing push piers with a comprehensive waterproofing and drainage plan is critical.
If you’re planning new pier installation, make sure your contractor assesses site drainage before driving piers. Many pros recommend regrading the lot or installing a French drain around the perimeter to relieve hydrostatic pressure before the piers go in.
What Are the Most Common Drainage Mistakes That Worsen Hydrostatic Pressure?
Homeowners often overlook simple drainage issues that can quickly escalate into foundation problems. Here are the top mistakes that put push piers at risk:
- Grading toward the foundation: If the ground slopes toward your house, rainwater runs directly against the foundation wall. Over time, this saturates the soil and increases hydrostatic pressure. A simple fix is regrading the top 6 to 10 feet of soil to slope away at least 6 inches per 10 feet.
- Clogged or missing gutters and downspouts: Downspouts that dump water within 3 feet of the foundation are a major culprit. Extend them at least 5 to 10 feet away, and clean gutters twice a year to prevent overflow.
- Improperly sealed foundation cracks: Small cracks can let water seep in, but the bigger issue is that they weaken the wall’s resistance to lateral pressure. If you have push piers, any existing cracks should be epoxy-injected or polyurethane-sealed promptly.
- Missing footing drains: In many older homes, the perimeter drain at the footing level is either absent or clogged with silt. This drain is designed to capture groundwater before it exerts pressure on the wall. If it’s not functional, water builds up and pushes against your piers.
- Overwatering landscaping: Plants and lawn near the foundation can require frequent watering, especially during dry spells. Too much water saturates the soil and mimics a heavy rain event. Use drip irrigation or soaker hoses set back from the house.
Many of these issues are inexpensive to fix compared to a foundation repair bill. For instance, regrading a small area costs $500–$1,500, while a foundation wall replacement can run $10,000–$20,000. Catch these problems early, and your push piers will thank you.
How Can You Assess Your Property’s Drainage Risk for Push Piers?
Before you decide on drainage improvements, you need to understand your property’s specific risk profile. Here’s a simple self-assessment you can do:
- Look for ponding water after a rainstorm. Any puddles within 10 feet of the foundation are a red flag.
- Check the slope of the ground around your house. A level or negative slope means water flows toward the foundation.
- Inspect your gutter downspouts during a downpour. If they overflow or splash against the wall, they’re not working properly.
- Look for efflorescence (white powdery deposits) on basement walls—a sign of moisture migration through the concrete.
- Measure crack width on foundation walls. Cracks wider than 1/8 inch could indicate ongoing movement, especially if they’re horizontal.
For a more precise assessment, consider hiring a structural engineer or foundation specialist. They can use a moisture meter or even a simple water test (dig a small hole and see how long it takes to drain) to gauge soil saturation levels.
| Symptom | Urgency Level | What to Do |
|---|---|---|
| Minor soil dampness within 2 feet of wall after rain, no cracks | Low (monitor) | Improve grading, extend downspouts |
| Standing water within 10 feet of foundation, minor cracks < 1/8 in | Medium (needs attention soon) | Install French drain or regrading, seal cracks |
| Active water seepage in basement, horizontal cracks, push piers leaning | High (urgent) | Call a foundation contractor immediately; possible interior or exterior waterproofing |
What Drainage Solutions Work Best for Homes with Push Piers?
Once you’ve identified the risks, you need practical solutions that work with your push pier system. Here are the most effective approaches:
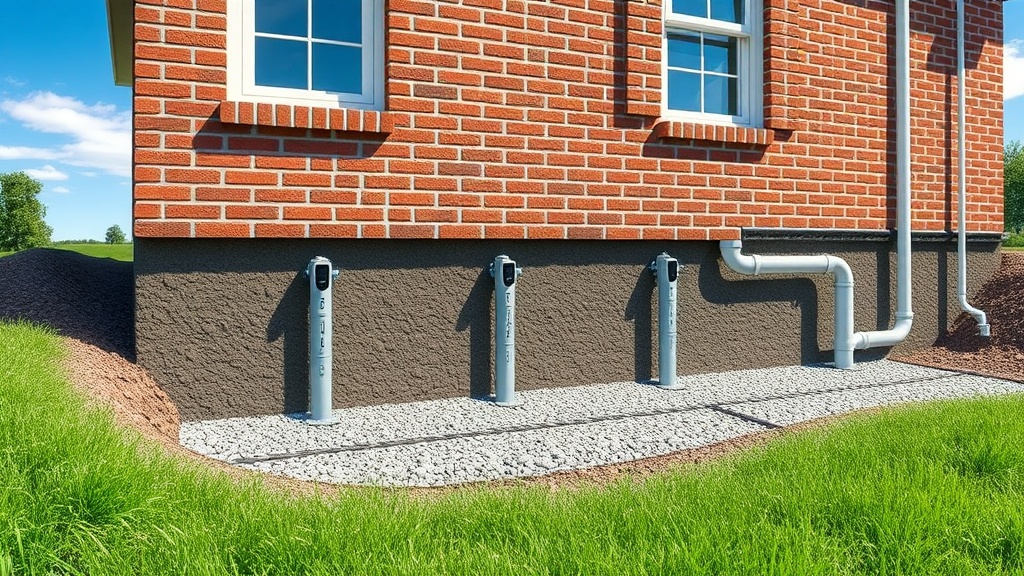
- Exterior French drain (perimeter drain): This is the gold standard for reducing hydrostatic pressure. A trench is dug around the foundation, a perforated pipe is laid in gravel, and it directs water to a sump pump or daylight. For homes with push piers, the trench must avoid disturbing the pier brackets and drive caps. A careful contractor can excavate around the pier heads without compromising them.
- Interior perimeter drain system: If exterior excavation is too expensive or risky, an interior drain system along the footings can capture water that already entered. This won’t reduce pressure on the piers themselves, but it protects your basement from flooding. It’s a good secondary measure.
- Sump pump and backup battery: A sump pump connected to your interior drain system will continuously remove water. A battery backup ensures it works during power outages—critical during heavy storms. Installation ranges from $800 to $2,000.
- Rain gardens and dry wells: If your lot has poor drainage, a rain garden planted at least 10 feet from the foundation can absorb runoff. A dry well (a buried pit filled with gravel) can handle roof runoff. Both reduce the volume of water hitting the soil near your piers.
- Surface drainage channels: For sloped lots, install swales or shallow ditches lined with grass or gravel to carry water away from the house. They’re cheap ($200–$500 if you DIY) and effective.
Note: Always check with your push pier installer before any excavation. Some pier systems have specific clearance requirements around the brackets. A reputable contractor will mark the pier locations and adjust the drain layout accordingly.
How Does Proper Drainage Extend the Life of Push Piers?
Think of your push piers as the skeleton of your foundation. They are designed to hold the weight of your house and transfer it to stable soil or bedrock. But that skeleton is only as strong as the environment it sits in. Hydrostatic pressure acts like a constant, invisible force trying to push the wall sideways. Over time, this can:
- Loosen the connection between the pier bracket and the foundation wall.
- Cause the pier itself to bend or deflect, especially if it’s in soft soil.
- Accelerate corrosion of the steel pier sections, though this is rare with modern galvanized piers.
- Lead to differential settlement if only part of the wall is affected.
By keeping the soil around your foundation dry, you remove that lateral force. This allows the push piers to focus on their primary job: supporting vertical loads. In practice, a well-drained site can add decades to the life of a push pier system. Many manufacturers give a 25-year warranty on their piers, but that assumes proper site conditions. Drainage is the cheapest and easiest way to honor that warranty.
Regular maintenance is also key. Use our Push Piers Maintenance Checklist: Annual Inspection Tips to catch issues early. And if you’re considering new piers, our Push Piers Installation: A Technical Overview for Homeowners explains how to assess drainage during the design phase.
What Are the First Signs That Hydrostatic Pressure Is Damaging Your Push Piers?
Knowing the warning signs is crucial. Here’s what to look for:
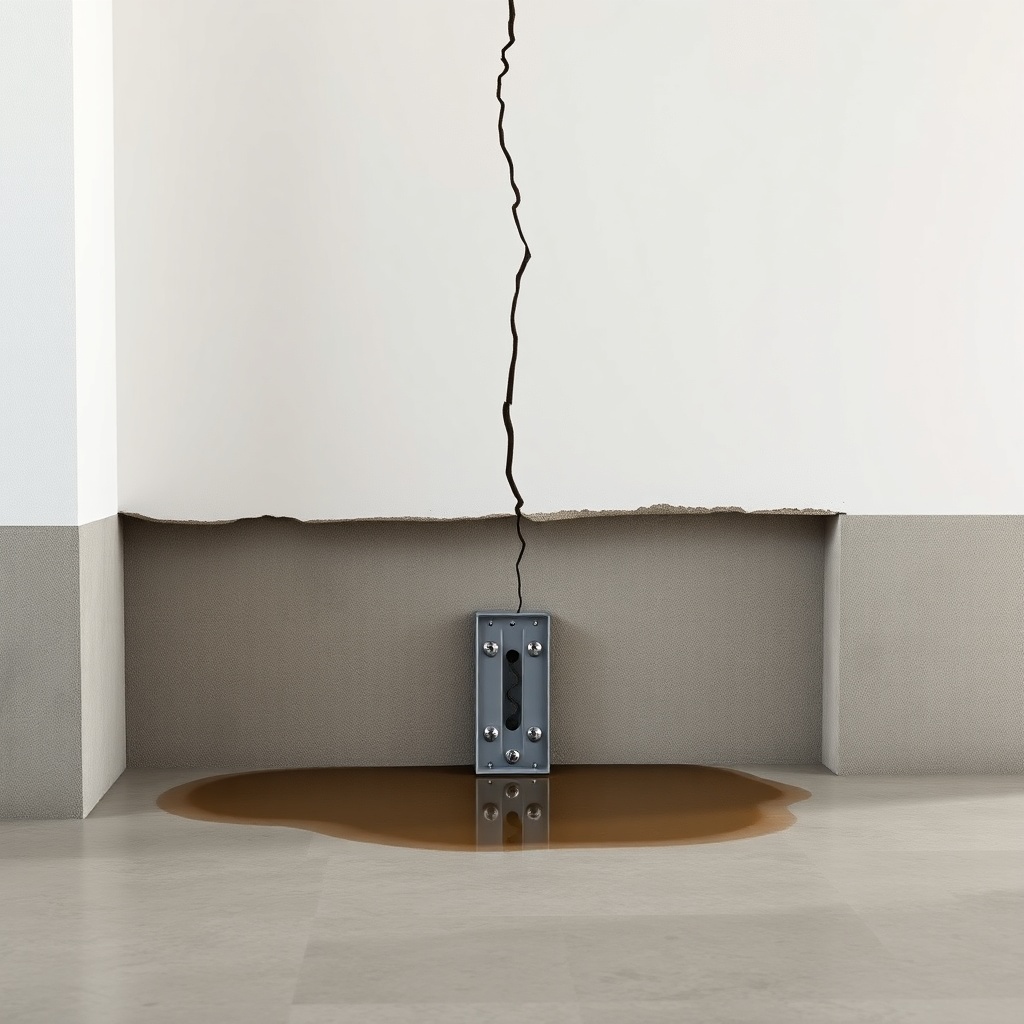
- Cracks in the foundation wall that are horizontal or stair-step shaped. Vertical cracks are usually settlement-related, but horizontal cracks often indicate lateral pressure.
- New openings around basement windows or doors—these can be caused by wall movement.
- Leaning push piers visible at the surface or in the crawlspace. If the steel pier is no longer vertical, it’s not working properly.
- Water stains on basement walls after heavy rain, especially near the top of the wall where pressure is highest.
- Efflorescence or mold growth in the same area repeatedly.
If you see any of these, act fast. A small drainage fix now can prevent a major foundation repair later. For example, redirecting a downspout might cost $50–$150, while replacing a damaged push pier can run $2,000–$5,000 per pier.
Also, check the effectiveness of push piers on existing cracks. Our article Can Push Piers Fix Vertical Foundation Cracks? Effectiveness Explained covers when piers alone aren’t enough and why drainage is still essential.
What Owners Say About Push Piers and Drainage
We’ve collected feedback from homeowners who paired push piers with improved drainage. Here’s what they typically report:
- “After we installed a French drain around the house, the basement stayed dry even during record rains. The push piers we put in three years ago haven’t shifted an inch. That $1,200 drain job paid for itself in peace of mind.”
- “I was skeptical at first, but the contractor showed me how water was pooling right where the piers sit. We regraded that side and now the piers are visible and straight. Wish I had done it sooner.”
- “The biggest surprise was that our sump pump runs almost every day in spring. Before, that water was just pushing against the wall. The piers are holding, but I wonder how long they’d have lasted without the drain.”
These real-world experiences underscore a simple truth: drainage isn’t optional when you have push piers. It’s an integral part of the system.
Frequently Asked Questions
Can I install push piers if my yard has poor drainage?
Yes, but it’s highly recommended to fix the drainage first or simultaneously. Installing piers into saturated soil can result in unstable installations and reduced load capacity. Most contractors will require a drainage plan before starting a pier job.
Will a French drain damage my push piers?
Not if installed properly. A French drain is typically placed 12–18 inches below grade and away from the pier brackets. Excavation near the footings must be done carefully to avoid disturbing the pier connections. Hire a contractor experienced with both drainage and foundation repair.
How often should I check drainage around push piers?
At least twice a year—spring and fall after heavy rains. Also inspect after any major storm event. Look for standing water, erosion, or downspout issues. Use our Push Piers Maintenance Checklist: Annual Inspection Tips for a full list.
Can improper drainage void my push pier warranty?
Many manufacturers specify that the piers must be installed in a properly drained environment to maintain warranty coverage. Check your warranty document or ask your installer. If the warranty mentions “hydrostatic damage,” you need to document your drainage condition.
What’s the cost of adding drainage to an existing push pier system?
Costs vary widely: an exterior French drain runs $2,000–$6,000 depending on length and access. A simpler regrading project is $500–$1,500. An interior perimeter drain with sump pump is $1,500–$3,000. In most cases, this is far cheaper than replacing a damaged pier.
Do push piers themselves improve drainage?
No. Push piers are purely structural—they do not affect water flow. They only stabilize the foundation. Drainage must be addressed separately. Never assume that installing piers will solve a water problem.