Your Annual Push Pier Inspection: A Practical Maintenance Checklist
Push piers are a robust, long-term solution for lifting and stabilizing a settling foundation. However, like any critical structural system, they require periodic inspection to ensure they continue to perform as designed. This article provides a practical, step-by-step annual maintenance checklist focused specifically on push piers, helping you catch minor issues before they become costly repairs.
By following this guide, you’ll learn what to look for around each pier, how to interpret common signs of trouble, and when it’s time to call a professional foundation contractor. Regular attention keeps your investment secure and your foundation stable for decades to come.
What Are the Signs of a Push Pier That Has Stopped Holding Load?
Your push piers work by transferring the weight of your structure from unstable soil down to load-bearing strata. Over time, soil movement, moisture changes, or even nearby excavation can affect how the pier carries its load. Here’s what to look for annually:
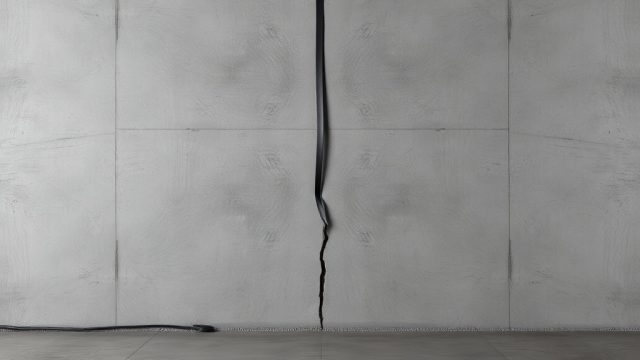
- New or widening vertical cracks directly above or near pier brackets. A crack that opens up consistently in the same area as your pier suggests the pier may be settling or the bracket is shifting.
- Doors and windows that stick or become difficult to operate. This often indicates uneven re-settlement of the foundation, meaning a pier may have lost some of its lifting capacity.
- Visible gaps between the bracket and the foundation beam. The bracket should remain in full contact with the concrete or masonry. Any gap of more than 1/8 inch warrants attention.
- Recurring horizontal cracks in interior drywall or exterior brick veneer. While some hairline cracks are normal, wider or expanding cracks near a pier location are a red flag.
If you spot any of these, a full load test by a professional is recommended. They can measure bracket movement and re-torque the pier’s locking nuts if needed.
How Often Should You Check for Corrosion on Push Piers?
Corrosion is the single most common long-term threat to steel push piers. Even with galvanized coatings, exposure to moisture and soil chemistry can cause degradation. Annual visual inspection is essential, especially in regions with high soil acidity or frequent groundwater movement.
Focus your check on these areas:
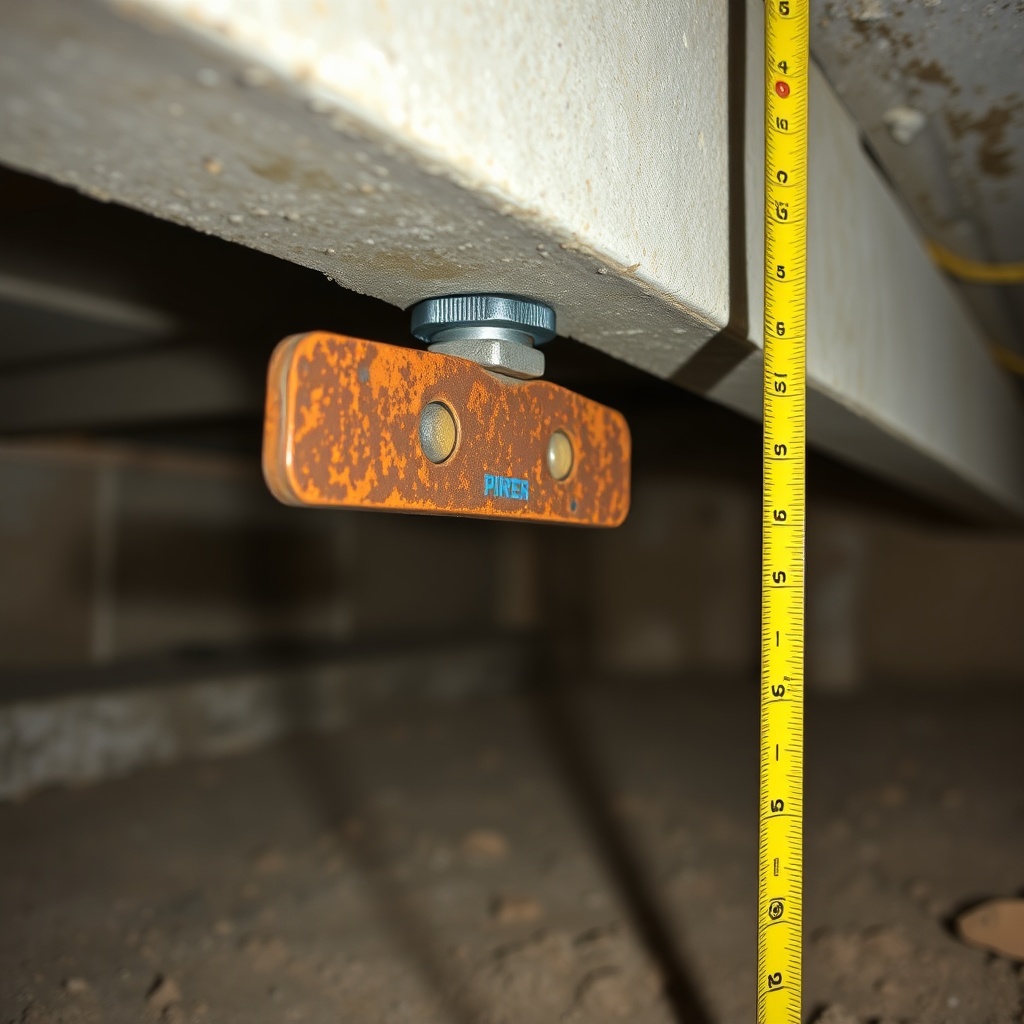
- The bracket and locking hardware. Look for orange or red rust flakes, pitting, or any loss of metal thickness. Surface rust that wipes off is usually harmless, but deep pitting needs treatment.
- The pier sections themselves. If piers are exposed in a crawlspace or basement, examine the visible length of each section. Corrosion often starts at the soil line or where moisture accumulates.
- Connections between pier sections. These are weak points for corrosion because they trap moisture. Check for any signs of scaling or flaking around the couplings.
- Bolts and nuts. These should be snug and free of rust. If you see significant corrosion, it may be time to have a contractor replace the hardware or apply a protective coating.
If you find minor surface rust, wire brushing and applying a zinc-rich cold galvanizing spray can be a temporary fix. For deeper corrosion, consult a structural engineer or foundation contractor. They may recommend new push pier sections or bracket replacement.
What Water Drainage Issues Can Affect Push Pier Performance?
Water is the enemy of any foundation system, and push piers are no exception. Hydrostatic pressure—the force exerted by water against your foundation walls and footings—can push piers sideways or cause the soil around them to erode. Annual inspection should always include a thorough assessment of perimeter drainage.
Here’s how water can compromise your push piers:
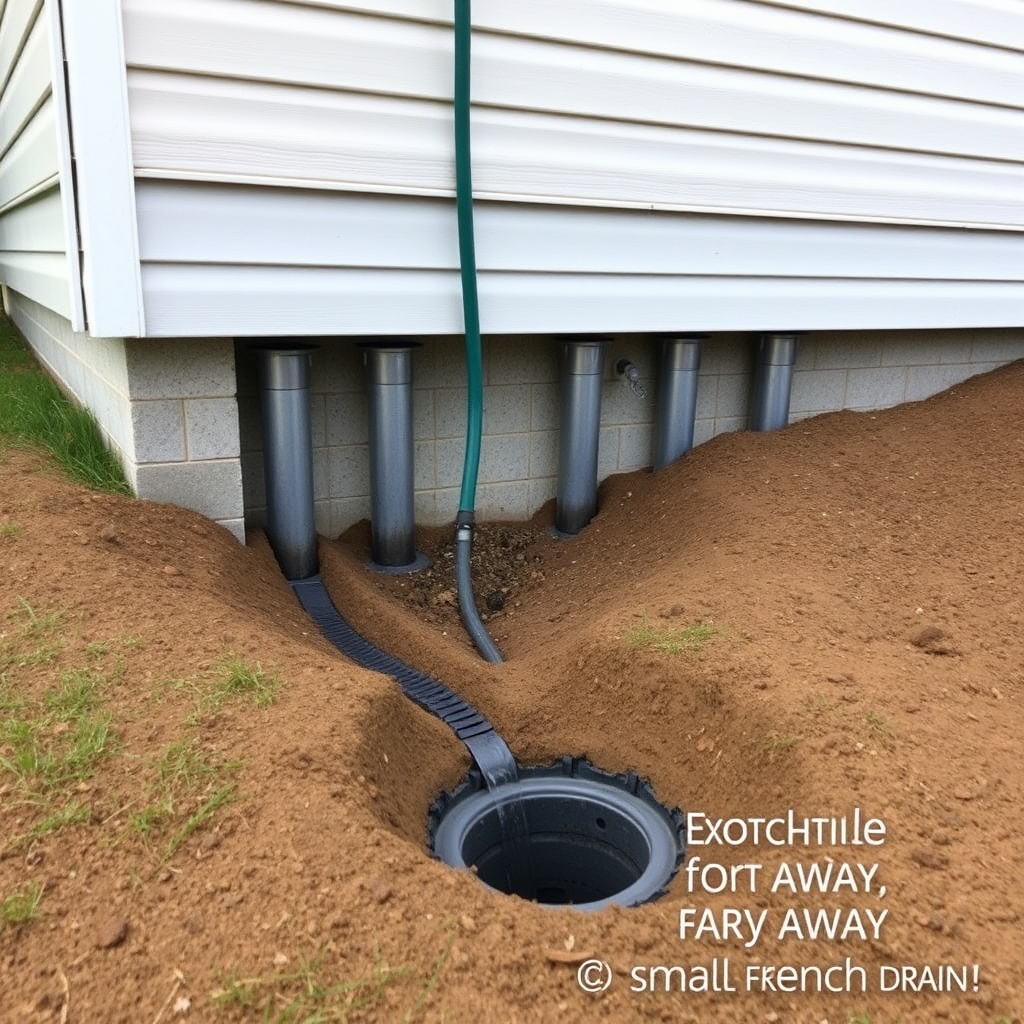
- Downspout splash-back. A downspout that empties directly against the foundation wall can saturate the soil right where a pier bracket is anchored. Over time, this can cause the bracket to loosen or shift.
- Gutter overflow. Clogged gutters can dump massive amounts of water near the foundation, increasing hydrostatic pressure and potentially destabilizing the soil bearing the pier load.
- Improper grading. The ground should slope away from the foundation at least 6 inches over the first 10 feet. If water pools near a pier location, you need to regrade or install additional drainage.
- Sump pump discharge. If your sump pump outlet is near a push pier, check that the discharge line carries water well away (at least 10 feet) from the foundation.
For a deeper dive into this topic, see our guide on preventing hydrostatic pressure around push piers. Addressing drainage issues now can save you from pier realignment costs later.
How Do You Know if a Push Pier Has Actually Moved or Shifted?
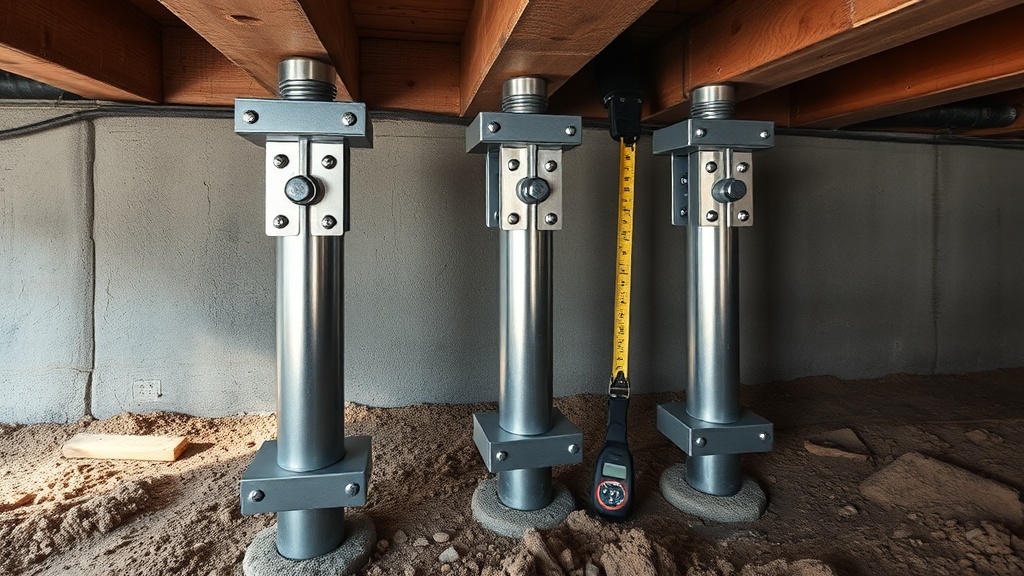
Overt movement of a push pier is rare but serious. Catching it early requires knowing exactly what to measure. Here’s a simple field test you can perform during your annual inspection:
- Check the vertical alignment. Using a 4-foot level placed against the pier column, ensure the pier is plumb. A lean of more than 1/4 inch over 4 feet indicates potential lateral shifting.
- Measure bracket height from a fixed reference point. Mark a small indent or use a permanent marker on the foundation beam above each bracket. Measure the distance from that mark to the top of the bracket annually. Any change of more than 1/8 inch means the pier is settling or rising.
- Inspect the bracket-to-pier connection. There should be no slop or play. Push and pull gently on the bracket—any movement is a red flag.
- Look for soil heave or settlement around the pier base. If the soil has pulled away from the pier head, or if there’s a depression around it, the ground may be moving independently of the pier.
Document your measurements with a simple sketch and photos. If you see changes, call a licensed foundation contractor immediately. They can perform a precise survey and, if necessary, adjust the pier’s load by adding shims or re-torqueing the locking system.
What Small Repairs Can You Do Yourself Versus Calling a Pro?
Some maintenance tasks are safe for a handy homeowner, while others require professional expertise. Use this severity table to decide:
| Situation | Typically Not Urgent (DIY or Monitor) | Needs Attention Soon (Call a Pro) |
|---|---|---|
| Surface rust on bracket or pier sections | Light surface rust that wipes off with a rag | Deep pitting or flaking rust, especially near welds or connections |
| Bracket-to-foundation gap | Gap less than 1/16 inch (can monitor) | Gap more than 1/8 inch or growing quickly |
| Visible cracks in foundation near pier | Hairline crack (less than 1/16 inch) that hasn’t changed in two years | Widening crack or stair-step crack in brick veneer |
| Water pooling near pier location | Temporary puddle after heavy rain that drains within 24 hours | Standing water for more than 2 days, or damp soil year-round |
| Doors or windows sticking | Occasional stickiness that resolves with humidity change | Persistent sticking, doors dragging on floor, or new cracks in adjacent walls |
| Loss of crawlspace access cover | Minor damage from rodents or age | Cover missing entirely, exposing pier to moisture and debris |
For any issue that lands in the “Needs Attention Soon” column, your safest bet is to contact a foundation repair specialist. They have the tools and training to re-level a pier or apply structural repair methods for foundation cracks connected to pier performance.
What’s the Best Way to Document Your Annual Push Pier Inspection?
Keeping records is key to tracking the health of your push piers over time. A simple inspection log can alert you to trends before they become emergencies. Here’s what to include:
- Date of inspection. Always record the exact day.
- A diagram or photo of each pier location. Label piers consistently (e.g., Pier 1, Pier 2, etc.) and note their position relative to the house corners.
- Measurements. Record bracket height from your fixed mark, vertical plumb reading, and gap width between bracket and beam.
- Visual observations. Note any corrosion, cracks, drainage issues, or soil changes.
- Actions taken. Did you clean a downspout, tighten a bolt, or call a contractor? Document it.
Consider creating a simple table in a notebook or spreadsheet. Compare each year’s measurements. If you see gradual changes, you can proactively address the cause—often related to water or soil movement—before the pier fails. This level of care can extend the life of your system well beyond its original warranty period.
What Owners Say
Real homeowners share their experiences with push pier maintenance:
- “I never thought about checking the corrosion until I noticed orange streaks on my basement floor. Turned out a downspout was leaking right onto the pier bracket. A quick gutter fix and a coat of anti-rust paint saved me thousands.” — Mark T., Denver
- “After a wet spring, I saw a tiny gap between the bracket and my foundation beam. I called the company that installed them five years ago. They came out, checked the load, and added a shim. No charge because it was under warranty. The peace of mind is worth the annual inspection.” — Linda S., Charlotte
- “My crawlspace was damp, and I worried about the piers. I installed a French drain along the perimeter, and now my annual checks show zero corrosion and no movement. Drainage is everything with these systems.” — Rob K., Seattle
Frequently Asked Questions
Q: How long do push piers typically last before needing replacement?
A: Properly installed push piers can last 50 years or more with minimal maintenance. The steel sections and brackets are usually galvanized for corrosion resistance. Annual inspections can easily extend this life beyond 70 years in dry conditions.
Q: Can I inspect push piers myself, or should I hire a professional?
A: You can perform a visual inspection yourself—checking for rust, gaps, and drainage issues—using the checklist in this article. However, if you find any movement, corrosion deeper than surface rust, or cracks near the bracket, you should call a licensed foundation contractor. They have precision tools to measure load and alignment.
Q: What is the typical cost to adjust or repair a push pier?
A: Minor adjustments like adding shims or re-torqueing nuts can cost $150 to $500 per pier. Major work, such as replacing a corroded section or re-installing a misaligned pier, ranges from $1,500 to $3,500 per pier depending on access and soil conditions. Most contractors offer a warranty on parts and labor.
Q: Do push piers need to be inspected every year?
A: Yes, an annual inspection is recommended. Even if your foundation seems stable, early detection of small issues—like a leaking gutter or a loose bracket—can prevent more expensive repairs. Seasonal changes in soil moisture can affect pier performance, so a spring or fall check is ideal.
Q: What’s the biggest mistake homeowners make with push pier maintenance?
A: The most common error is neglecting drainage. Many homeowners focus only on the steel piers themselves and ignore downspouts, gutters, and grading. Water can undermine the soil around the piers and cause lateral movement or corrosion. Always address water before any other maintenance step.
Q: Will a push pier ever need to be fully replaced?
A: Complete replacement is rare but possible if the pier has suffered severe corrosion, is bent from lateral soil pressure, or was improperly installed. In most cases, a contractor can repair or re-level the existing pier rather than replacing it. If you have a system older than 30 years and see signs of failure, a structural engineer should evaluate it.